
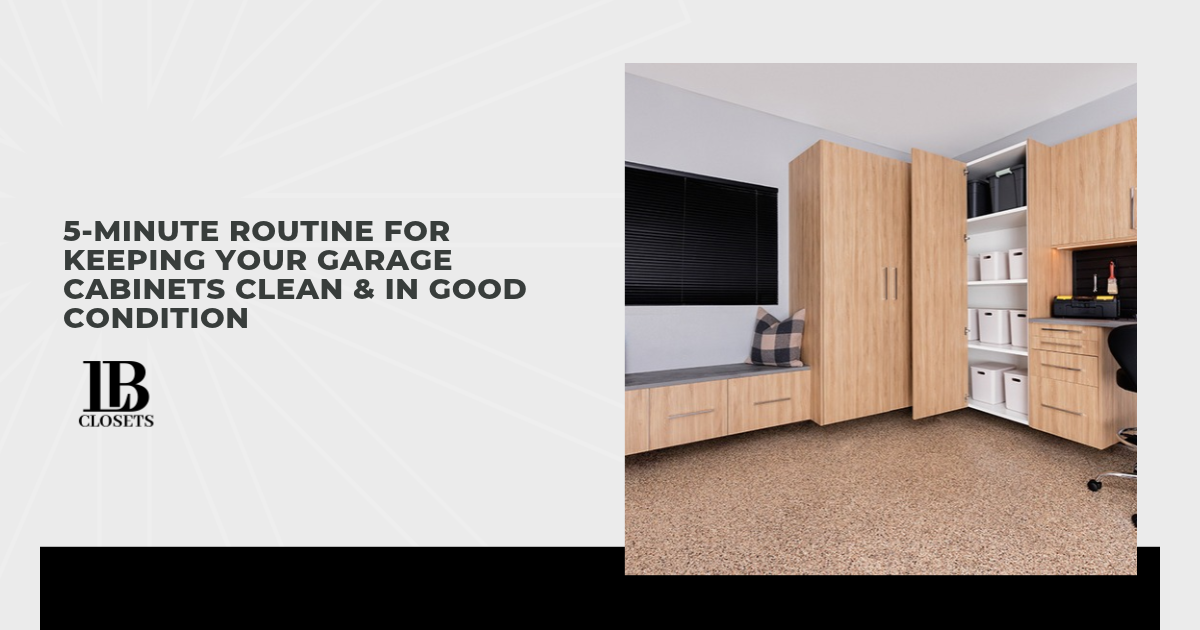
When you reach into your garage cabinets for a tool, you’re probably thinking about the project ahead. Fingerprints around the handle or dust along a shelf edge can easily escape your attention. Once you notice the buildup, cleaning can feel like another job to fit into your weekend. Routine care is easier to manage when you give frequently used areas a few minutes of attention regularly.
For this five-minute routine, I’m counting a quick wipe and inspection of frequently used areas, with deeper cleaning handled separately. The timeframe assumes your supplies are ready and your cabinets receive regular care. You can rotate through less-used cabinets during later sessions without rushing to reach every surface. Treat the times below as approximate guides, and allow extra time when you discover a problem that needs prompt attention.
Use this short routine to keep your garage cabinets clean and check for signs that they need attention:
- Clear away items that don’t belong
- Remove loose dust from accessible surfaces
- Spot-clean fingerprints and small marks
- Check for moisture and leaking containers
- Check door movement and visible hardware
- Start with a quick reset to make the surfaces you’ll clean easier to reach.
Clear Away Items That Don’t Belong
Approximate time: 60 seconds
Dust is easiest to spot on a dark cabinet door, but exposed shelf edges deserve attention too. Use a clean, soft cloth to gently collect loose dust on the surfaces within easy reach. Start with the higher areas you can comfortably access, then work downward. This order helps you avoid dropping debris onto a surface you’ve already wiped.
Fold your cloth into quarters so you have several clean faces available. Switch to a fresh side when the fabric looks dirty, and use light pressure as you wipe. Pay attention to narrow ledges where dust can collect unnoticed. Leave fingerprints and stuck-on marks for the spot-cleaning step that follows.
For this quick pass, concentrate on the cabinet area you use most often. You can tackle another group of doors or exposed shelves during your next session. High cabinet tops and shelf interiors that require unloading belong in a longer cleaning session. Once the accessible surfaces are free of loose dust, move on to the marks that need closer attention.
Remove Loose Dust From Accessible Surfaces
Approximate time: 60 seconds
Dust is easiest to spot on a dark cabinet door, but exposed shelf edges deserve attention too. Use a clean, soft cloth to gently collect loose dust on the surfaces within easy reach. Start with the higher areas you can comfortably access, then work downward. This order helps you avoid dropping debris onto a surface you’ve already wiped.
Fold your cloth into quarters so you have several clean faces available. Switch to a fresh side when the fabric looks dirty, and use light pressure as you wipe. Pay attention to narrow ledges where dust can collect unnoticed. Leave fingerprints and stuck-on marks for the spot-cleaning step that follows.
For this quick pass, concentrate on the cabinet area you use most often. You can tackle another group of doors or exposed shelves during your next session. High cabinet tops and shelf interiors that require unloading belong in a longer cleaning session. Once the accessible surfaces are free of loose dust, move on to the marks that need closer attention.
Spot-Clean Fingerprints and Small Marks
Approximate time: 90 seconds
Handles and the door surfaces around them are useful places to start your spot check. Look for fingerprints or small smudges left behind during everyday use. Choose a few visible marks within the area you’ve just dusted. There’s no need to wash every cabinet front during this quick pass.
Before using a cleaner, check the care instructions for your cabinet finish. My priority here is matching the cleaning method to the surface, since a product suited to one finish may be unsuitable for another. Follow the manufacturer’s directions for the cleaner and cloth, including any spot-testing instructions. Don’t assume a stronger product is the right answer when a mark resists the first wipe.
When damp wiping is permitted, use a well-wrung cloth and keep excess liquid away from seams and edges. Dry the cleaned area promptly with a separate soft cloth. For a stubborn mark, pause and confirm the recommended treatment before scrubbing harder. The remaining marks can receive more attention during a longer cleaning session.
Check for Moisture and Leaking Containers
Approximate time: 45 seconds
A clean cabinet front won’t tell you if a damp item is sitting inside. Open the cabinets where you store liquid products or supplies used outdoors. Look beneath accessible containers for drips, wet rings, or damp patches. Focus your quick check on these spots without unloading every shelf.
Check that anything you’ve recently put away is dry, especially washable supplies or equipment exposed to rain. Remove damp items and let them dry fully before returning them to storage. For a leaking container, follow its label’s handling and cleanup instructions. Identify the contents before wiping up a spill so you can use the appropriate cleanup method.
After you address the source, check the affected shelf and nearby edges for visible changes. Swelling, lifting edges, or persistent dampness deserve closer attention. Contact your cabinet installer or manufacturer for guidance if you notice damage or can’t locate the moisture source. An active leak takes priority over finishing within the five-minute target.
Check Door Movement and Visible Hardware
Approximate time: 60 seconds
The way a cabinet opens and closes can reveal an issue you won’t notice while cleaning. Gently open the doors and drawers you use most, paying attention to how they move. Close them without forcing or slamming them. You’re checking for changes in their usual operation, so focus on anything that feels different.
During this quick check, look for a few specific warning signs:
- Loose Handles: Notice any movement where a knob or pull attaches to the cabinet.
- Rubbing Doors: Check for contact with a neighboring door or cabinet edge as you open and close it.
- Sticking Drawers: Pay attention to new resistance or a drawer that no longer closes fully.
When something catches, first check for stored contents blocking its path. If the movement still feels wrong after you clear the obstruction, leave adjustments for a separate task. Follow the hardware manufacturer’s instructions or ask your installer before tightening hinge screws or applying lubricant. A brief note about the affected door or drawer will help you follow up without repeating the inspection.
Conclusion
Cabinet care is easier to fit into your week when the task has a clear stopping point. Five focused minutes can help you keep frequently used areas of your garage cabinets clean and notice changes that deserve attention. Some days, a quick wipe will be enough, while others may call for a closer look at a problem. Give yourself room to respond to what you find, without turning every check into a full garage project.